Megan’s house
Halloween Party 2015

Happy Halloween! The party last night was a success and I am very lucky to have a sister who is a talented photographer to take pretty photos of everything while I ran around like a chicken with my head cut off trying to get all the food out on the table at the last minute.
Gold Leaf Mirror DIY
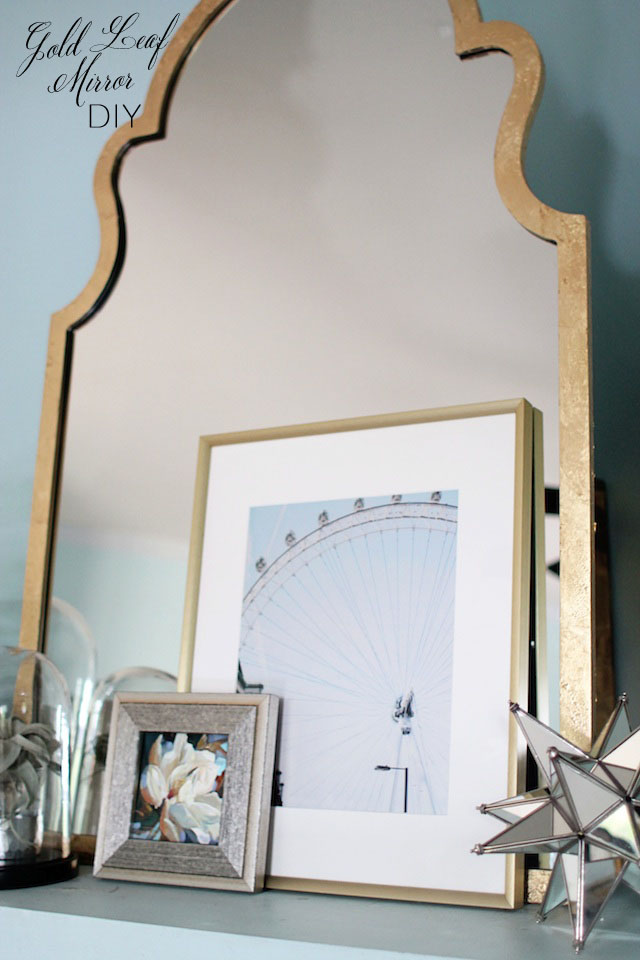
So the story is that the mirror above my fireplace has a very nice shape but its flat black color was not wowing me anymore. I wanted something that felt a bit more special. Cue the gold leaf. Now I will not mince words. Gold leafing something is big pain in the butt. While not
The Five Year Itch
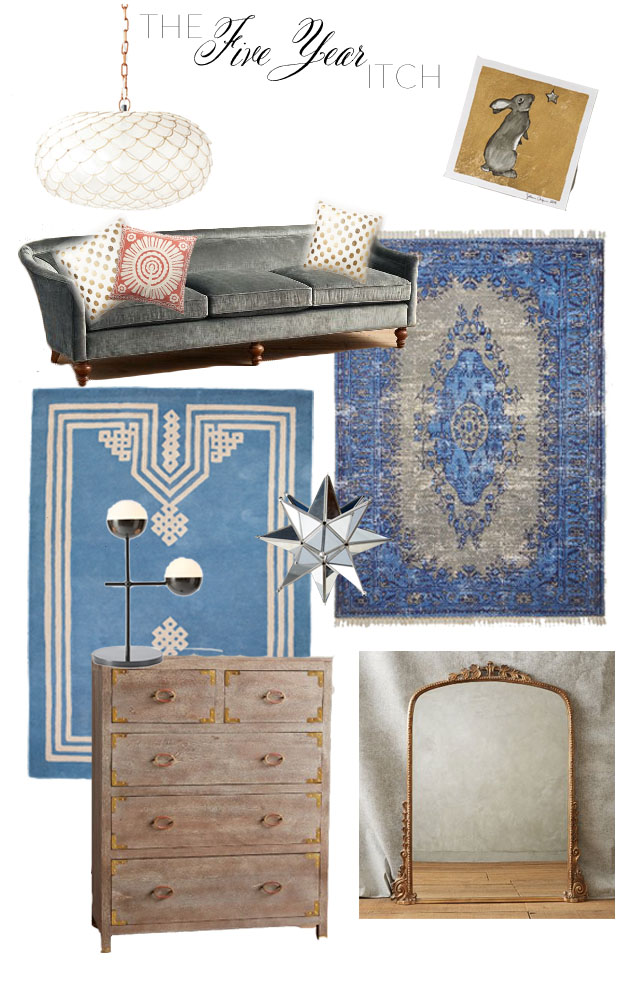
I’ve lived in my house going on 5 and a half years now. And for the last 6 months or so, I have been getting a serious itch to redecorate. I think I did a pretty good job (other than the sea of brown in my family room that constantly plagues me) picking out big
Megan’s Christmas 2014

Hello my friends! It is truly hard to believe that it is only 3 days until Christmas. The season just seems to go faster and faster each year. So fast in fact that Colleen and I haven’t even gotten to do some of our usual traditions like going to the Nutcracker and driving to see
Halloween Decorations 2014

I finally got around to taking some pictures of my Halloween decorations this year so I could show you guys. The problem is that I alter them throughout the course of the season and I never really feel like they are done. But since Halloween is Friday and they will probably be coming down soon,
Gold Leaf Cloud Art DIY

When I finished my mirror gallery wall, I had one extra little space that felt like it needed something. So I started trying to think of something I could make quickly with a tiny canvas I had that was the perfect size for the spot. Immediately I thought of some seriously beautiful cloud art by