DIY
Gold Leaf Mirror DIY
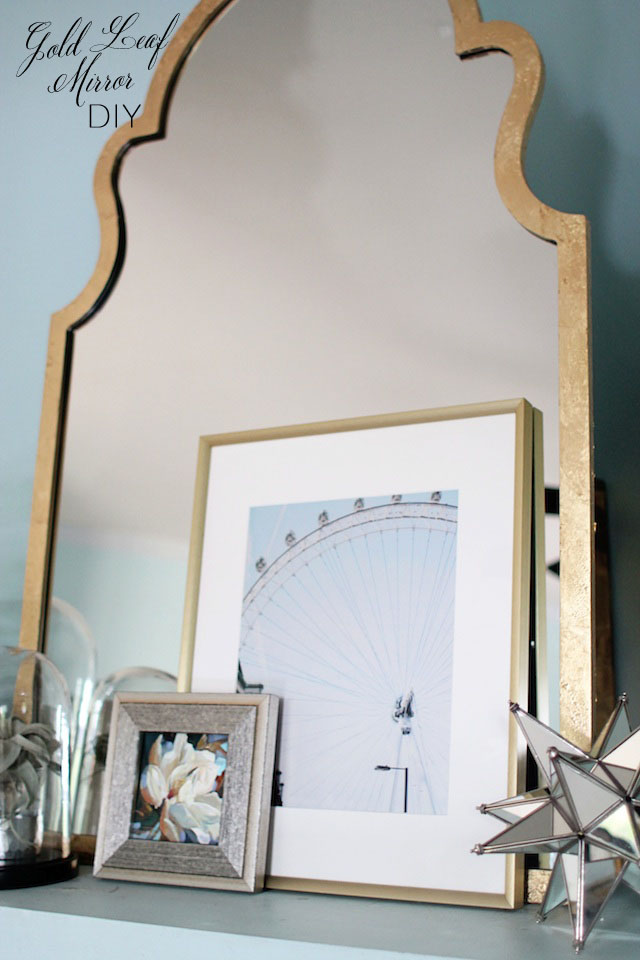
So the story is that the mirror above my fireplace has a very nice shape but its flat black color was not wowing me anymore. I wanted something that felt a bit more special. Cue the gold leaf. Now I will not mince words. Gold leafing something is big pain in the butt. While not
Blood Splatter Napkins DIY
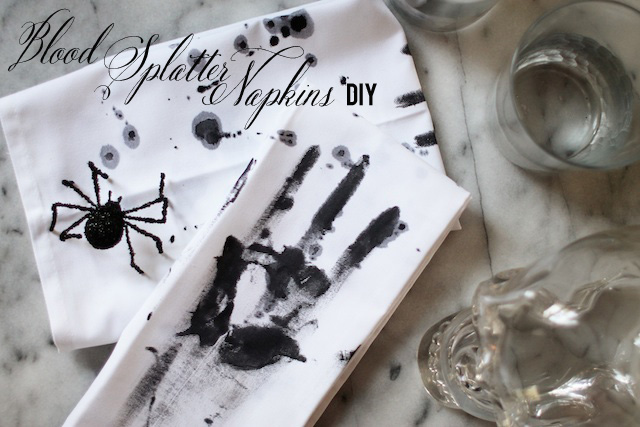
It has kind of been killing me that we haven’t been able to do a Halloween DIY this year so I decided to throw one together in literally 5 minutes the other night with some things I already had with the addition of white napkins I picked up at Target. You will notice by the
Starry Lantern DIY
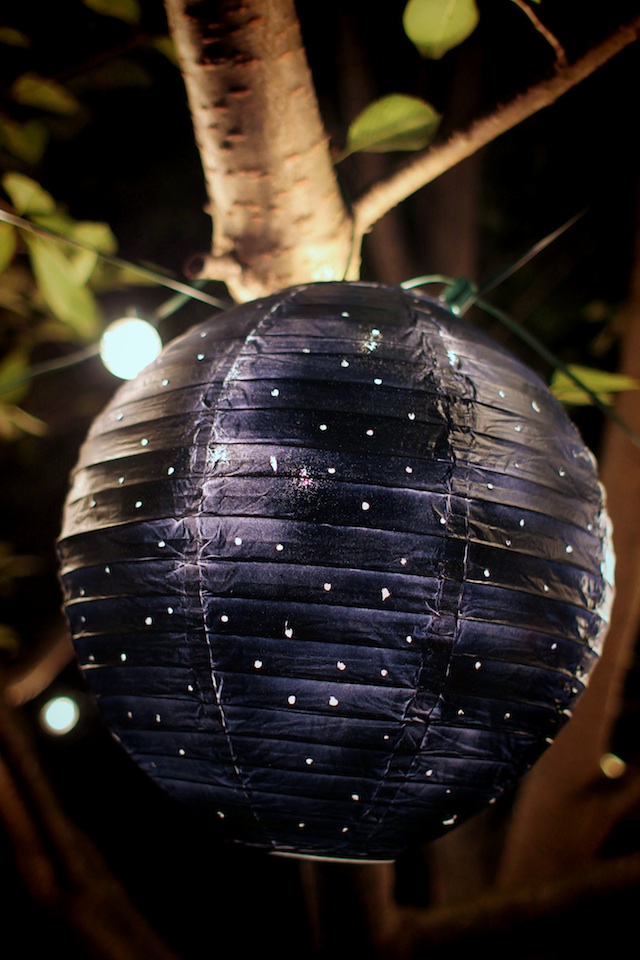
I have had a plain, unopened paper lantern sitting one of my craft boxes for a couple years now and I decided that this weekend was finally the time to do something with it. I came up with this idea unsure of how it would work out but I think all said and done, it
Quick Copper Vase DIY

Here I am again, telling you something was a DIY when in fact it is really just reusing an attractive beer bottle as a vase. I realize I am sneaky. Corey finished off his alcoholic beverage and I thought well wouldn’t that look lovely with a little bit of copper contact paper on it. So
Grosgrain Roman Shades {DIY}

Let me start off this post by saying I had little to nothing to do with this DIY. My lovely genius mother sewed and constructed these roman shades and made my windows look like angels. I wasn’t even smart enough to take pictures of each of the steps, so all I can show you is
Brooklyn Limestone Collaboration: Hidden Litter Box Side Table DIY

Hi friends! Do you have a cat and therefore one (or several) ugly litter boxes jacking up the overall ambiance of your house? Me too man, me too. Luckily, we can hide our litter boxes in lovely furniture and no one will be the wiser. Head over to Brooklyn Limestone to see my hidden litter box